Make Your Window Draggable, Closable, and Openable
 SerenityUX
Surpassed my expectations, young one, you have. Confront your fears, you must, for a Jedi JavaScript master you have the potential to become.
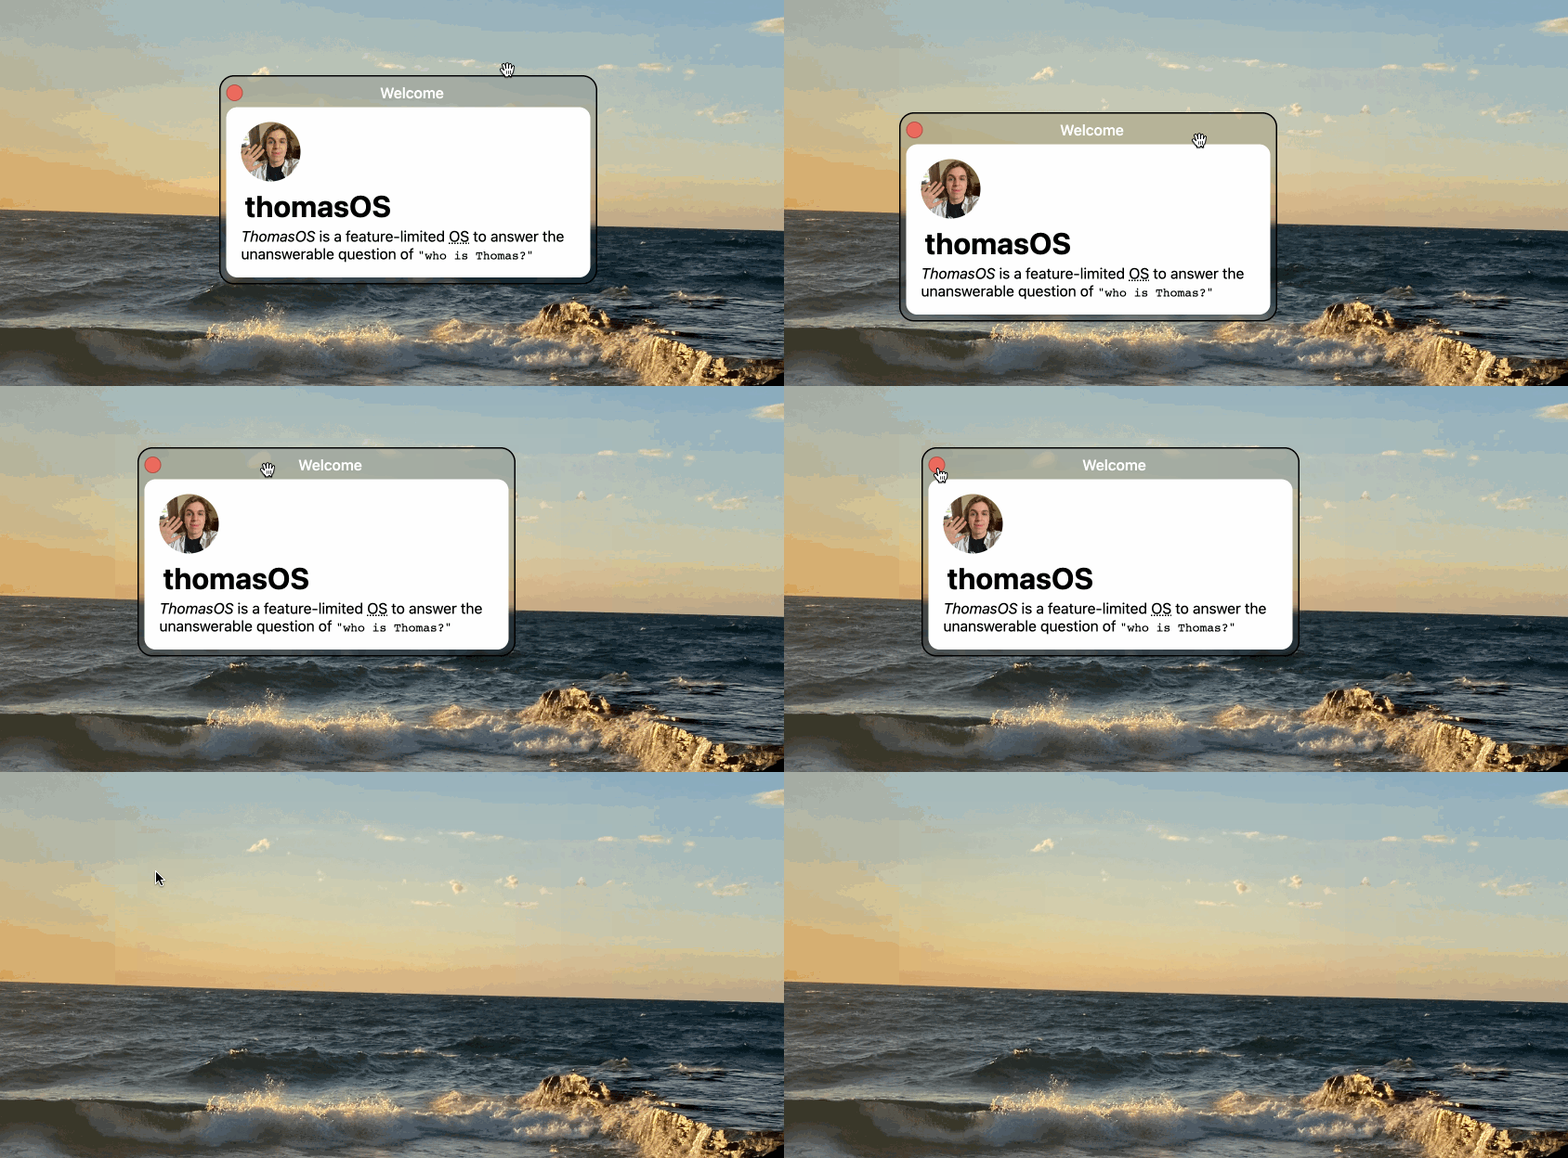
Today we're going to be making our windows movable and throwing in some JavaScript magic (you'll see later what I mean by this). Here's what that looks like:

Outline:
- Organizing Our Logic
- Making Our Window Movable
- Adding a Handle
- Opening & Closing the Window
- Organizing Our Styles
Organizing Our Logic
Our index.html file is getting a bit messy. Let's try splitting our Logic (JavaScript) from our Content (HTML) by moving the JavaScript code to it's own script.js file.

As a reminder, this is what my code looked like at the end of the last Jam:
Let's take that JavaScript logic and paste it into the script.js file (which you'll see on your file manager).
Connecting Script File to HTML File
Inside of our HTML file we display what the user sees in the body tags. To make a reference to our script file, we need to make a script tag in at the bottom of our body element and set the source to our script file.
Celebration
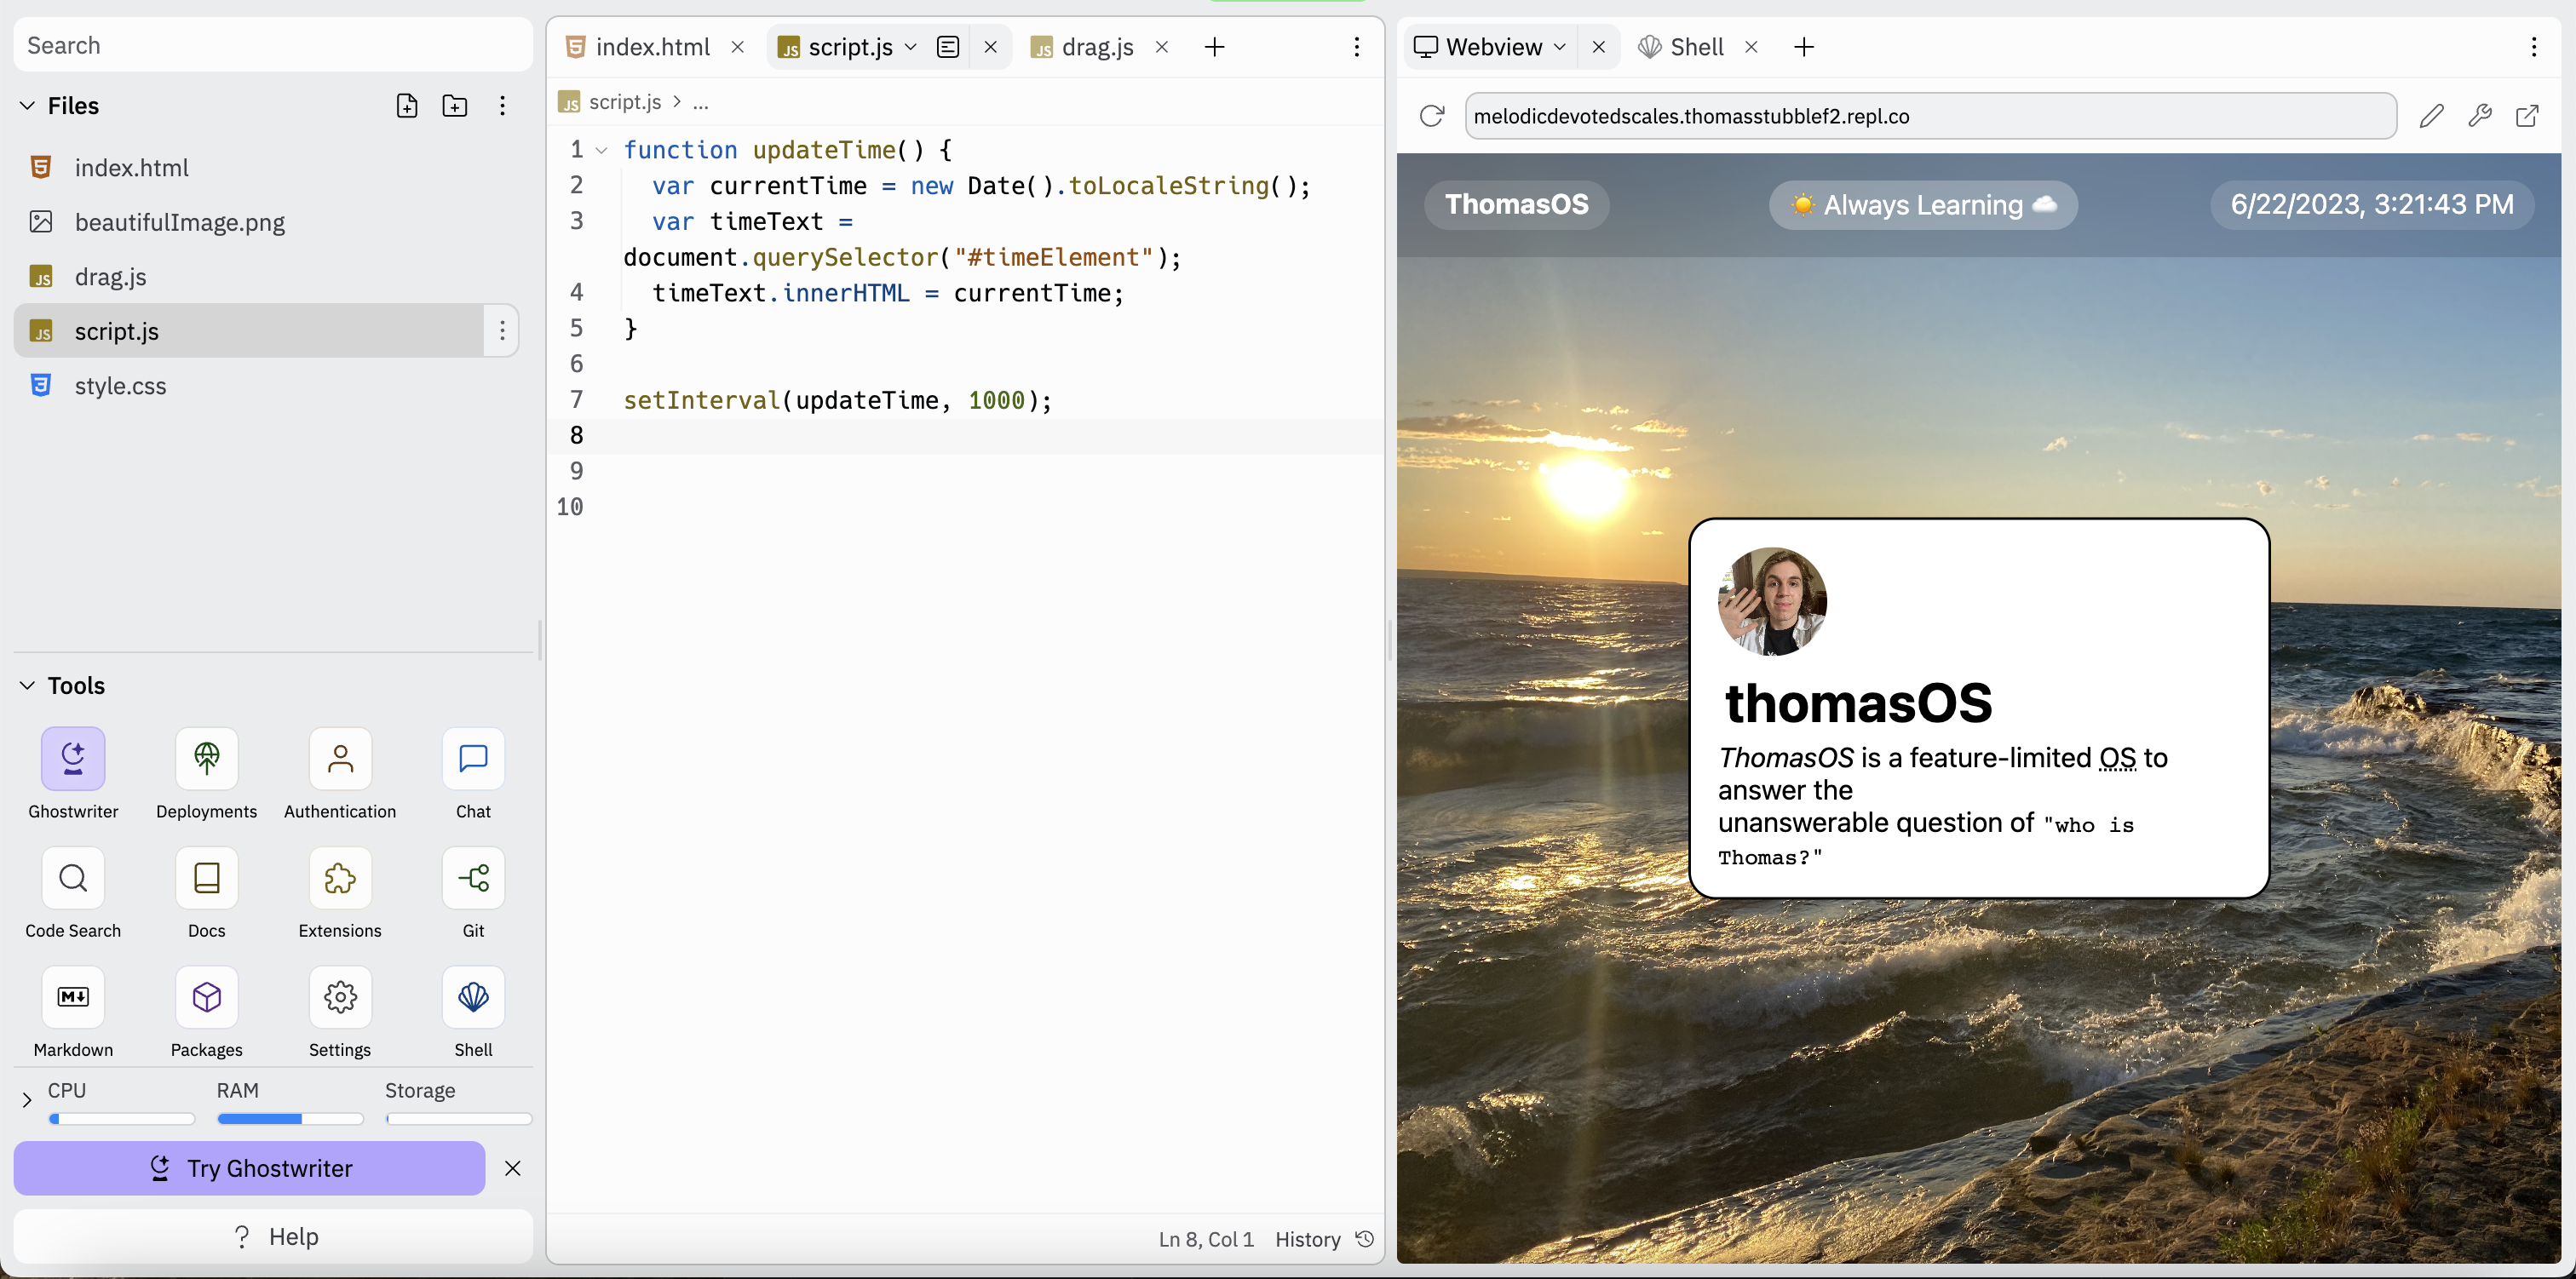 Great, it worked! Now going forward we'll write our JavaScript code in script.js and our HTML in index.html.
Making The Window Movable
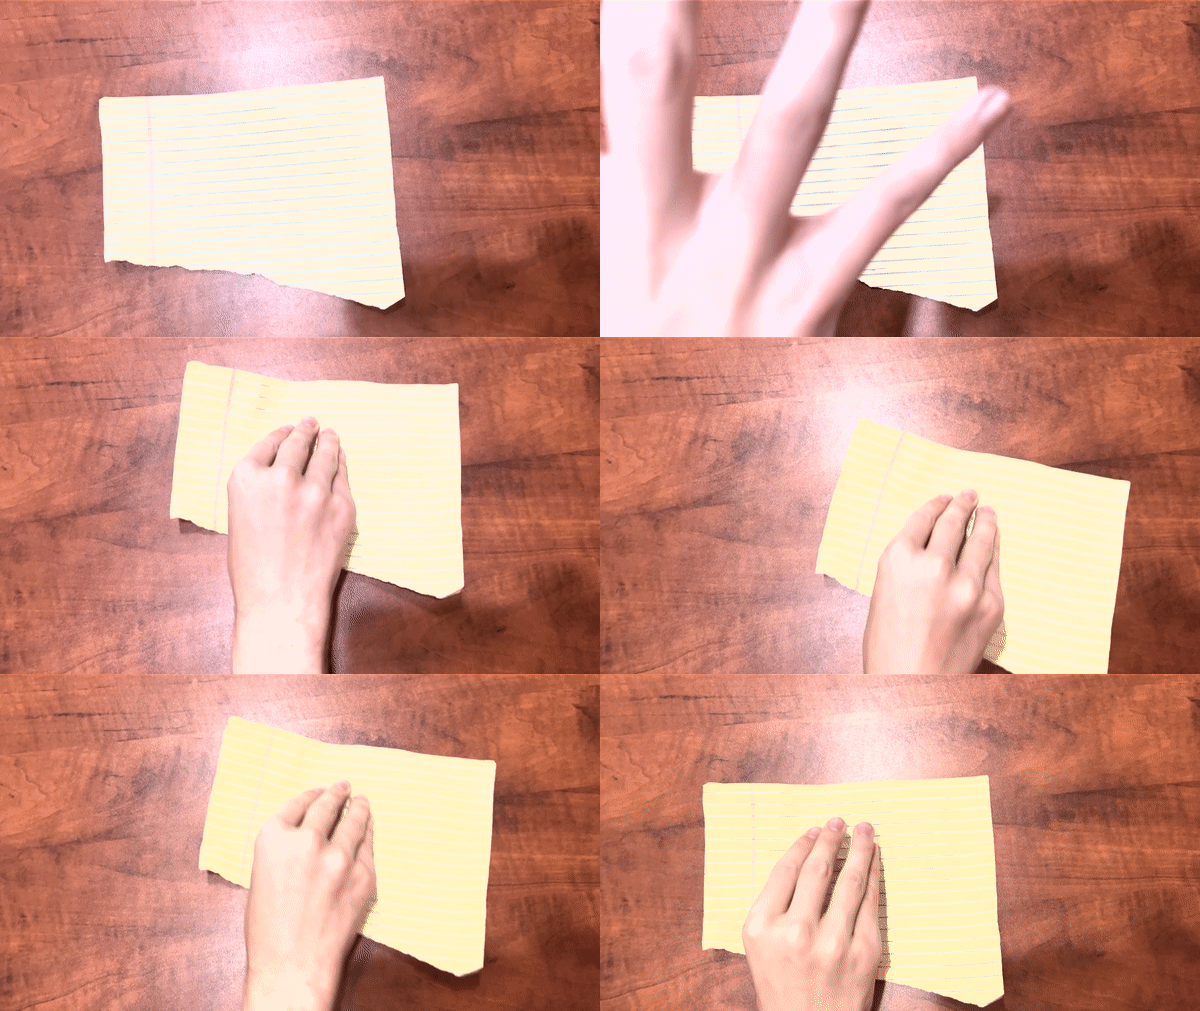 Making the window move is honestly one of the more difficult parts of this Batch. Let's see if we can find an online resource that can help us out...
one google search later
Ah yes here we go: How To Create a Draggable HTML Element W3 School
According to this site, we need to
- apply an id to our welcome window div
- make it display absolute (already done ✅)
- create a function for dragging the element (that gets the position of the cursor and sets the position of the element to the position of the mouse)
- run said function on the welcome window div.
Identifying the Welcome Screen
Let's slap an id on the welcome screen
Grabbing the Dragging Logic
Let's take the code provided by W3 School and drop it into our script.js file. Here's the the code provided on the W3 School site (we adjusted some of the variable names to make it more readable):
(btw you'll notice comments inside of the javascript marked by // which are segments of code that do not perform any function but rather make the code significantly more readable)
Super confused? Here's what is happening:
The awesome dragElement function lets you drag and move the window around. It takes in an element and then adds this ability to it. The function captures the window's starting position and keeps track of its current position.
If there's a header element (like a handle), it hooks up the magic of dragging to it (but not the rest of your window). But even without a header, you can still grab and move that window from anywhere inside it.
 (in the example above, the pencil if your window's handle)
The startDragging function is in charge of getting things rolling, capturing the initial mouse position and setting up the moves and release.
As you move your mouse, the dragElement function works its magic, calculating the new position of the window and smoothly updating it on the screen.
When you're done with the dragging extravaganza, the stopDragging function steps in and says, "No more mouse tracking!" by removing the event listeners. Now, go forth and drag those windows!!! (btw if this doesn't totally make sense, don't stress! You'll get it with time.)
Applying The Dragging Logic
Let's change the first line of code to select window instead of "mydiv"
Waaahooooooo Our div is moving!
Adding A Handle
If we look at the code provided by W3 School:
the provided code segment above indicates that if we create an element with the name of our element and "header", then we'll be able to make it only draggable from that element.
Let's see if it actually works
(back to our HTML File inside of our page body)
Awesome

 jianmin-chen
Hey... the creator of this Jam missed out on a huge upgrade to the site, but dw, I'll let you in on the inside scoop. You can avoid annoying underlining of the handle text on drag by adding user-select: none; & cursor: grab;
Now it's time for you to customize your handle and make it look hover you'd like. Perhaps:
- Add an icon as an image that conveys that the window can be dragged from that point
- Place the handle in the div at the top and style similar to a traditional window
- Make the "Handle" text look quite cool and leave it as text
- Make it look like a door handle
Here's what I decided to do (I hope yours looks nothing like this)

Opening & Closing The Window
Alright, so let's break down this challenge
-
We need a way to toggle whether the window is visible
- We can use the display property (which can be set to none)
-
We need to create a function to open the window
- We can pass in an element and enable its visibility
-
We need to create a function to close the window
- We can pass in an element and disable its visibility
-
Create buttons for opening & closing the window
- using the onClick function on our elements we can run these functions
Identifying Our Window
We already have an id on our welcome window of "welcome".
We can identify it in JavaScript using a querySelector.
In our script.js file, let's select our window:
Close Window Function
Next, let's create a function for disabling its visibility
Let's break this down.
First we're declaring that we're creating a function with the function keyword. Next, we're naming this function as closeWindow and passing in a parameter of element.

Still not sure what a function is?
We take the element passed into the function, access the style property, and then the display property inside of the style property and change the value to "none" which hides it.
Open Window Function
I typically make my windows with the display type of flex. If you try this & it breaks your window by stacking items horizontally, try adding the flex-direction: column property to your window element.
Note: If you don't want to use flex, you can also set the value of your windows to "block" and get the same effect.
Note: If you still don't understand flex, play the flex box froggy game!
Creating Window Buttons
Creating Close Button
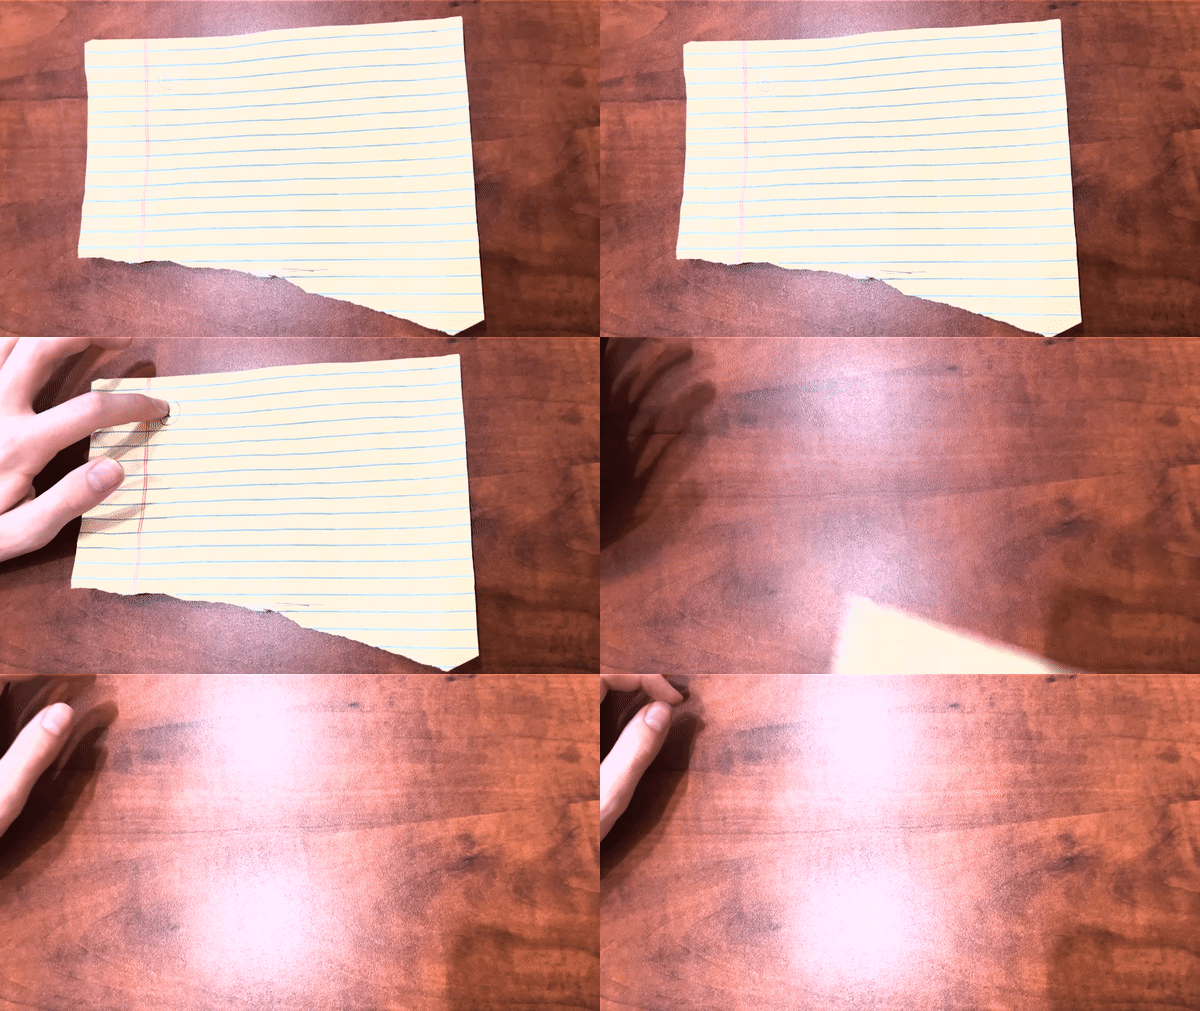
Let's create a close button inside of our window:
For now, I just created some text that says "Close".
Creating Open Button

I am going to use the "ThomasOS" text in my top-bar to open the Welcome Screen, so I already have that button.
I added an id of "welcomeopen"
I encourage you to create your own button for opening the window if you'd like! You can put it in the top-bar, or opt not to.
Identifying the buttons
Let's select them with the IDs we created
Adding Event Listeners
 An event listener waits for a specific action to happen and then runs a function when said action happens. In this case, we're waiting for a click to trigger a function.
Note: There are a lot of event listeners, but don't worry you don't need to memorize all of them. It may be fun to give a look at this list of event listeners supported by the browser
Styling Your Close Button
I made by button a red circle (this is a div with a set width and height, a border-radius, and a background-color).
You can make a circle or whatever else you'd like. You can even keep it as text if you'd like to.
Organizing Our Styles
Windows have a lot in common. Wouldn't it be so annoying & ineffective it would be if every time you created an application, you had to redefine the close button, the top-bar, etc.
How can we define the styles once and then just reuse infinitely?
Introducing CSS Classes
So you didn't know it, but all along you've been writing in-line CSS. There's another flavor of CSS which I am going to call class-based CSS (because out-of-line CSS just sounds a bit strange)
- We need to link our HTML file to our CSS file
- We need to mark an object as belonging to a particular class in our HTML file inside the opening tag of an element
Note: you can place classes on any element, not just divs
-
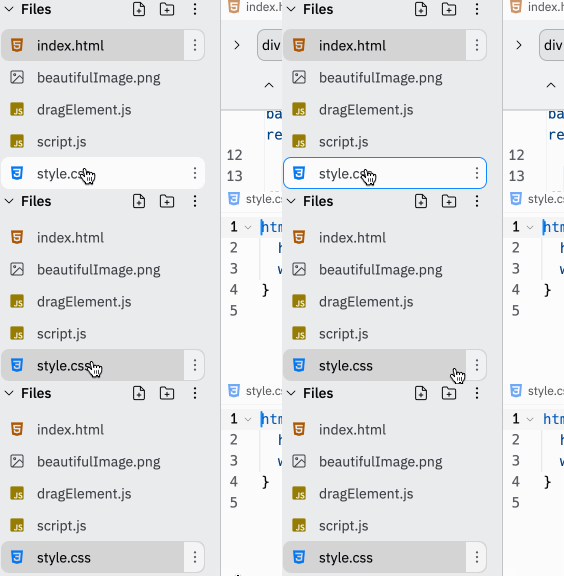
We need to go into our style.css file (which already exists btw) (dw about dragElement.js, that shouldn't be on your screen)
-
Inside of the style.css file we need to write . and then the name of the class and then place styles inside of the curly brackets
{}on separate lines separated by a semicolon.
- Let's place our styles for our close button
Put your styles for the close button. DO NOT COPY THESE STYLES!
- Let's now delete those in-line styles we put in the initial div
Let's now do the same for our window header and our window. We're doing this so we can easily add new windows without too much complexity.
We may want to customize the positioning of the window, so I am leaving that as in-line and moving the rest to the CSS file:
Here's what my new CSS classes look like (inside the CSS file):
NOTE MAKE SURE YOU USE YOUR STYLES AND NOT MINE!!!
Now adding additional windows will be easy because we can mark those windows with the class property and automagically have the styles applied!
Next Episode...
Congrats, your operating system is starting to feel quite real. You can now move, open, and close your welcome screen, but imagine how lame your computer would be if it could only open a single welcome screen!
You need to make your first app, and that's exactly what we'll be doing in our next episode.
I'll see you there!
Congratulations! 🎉 🎉 🎉Share your final project with the community